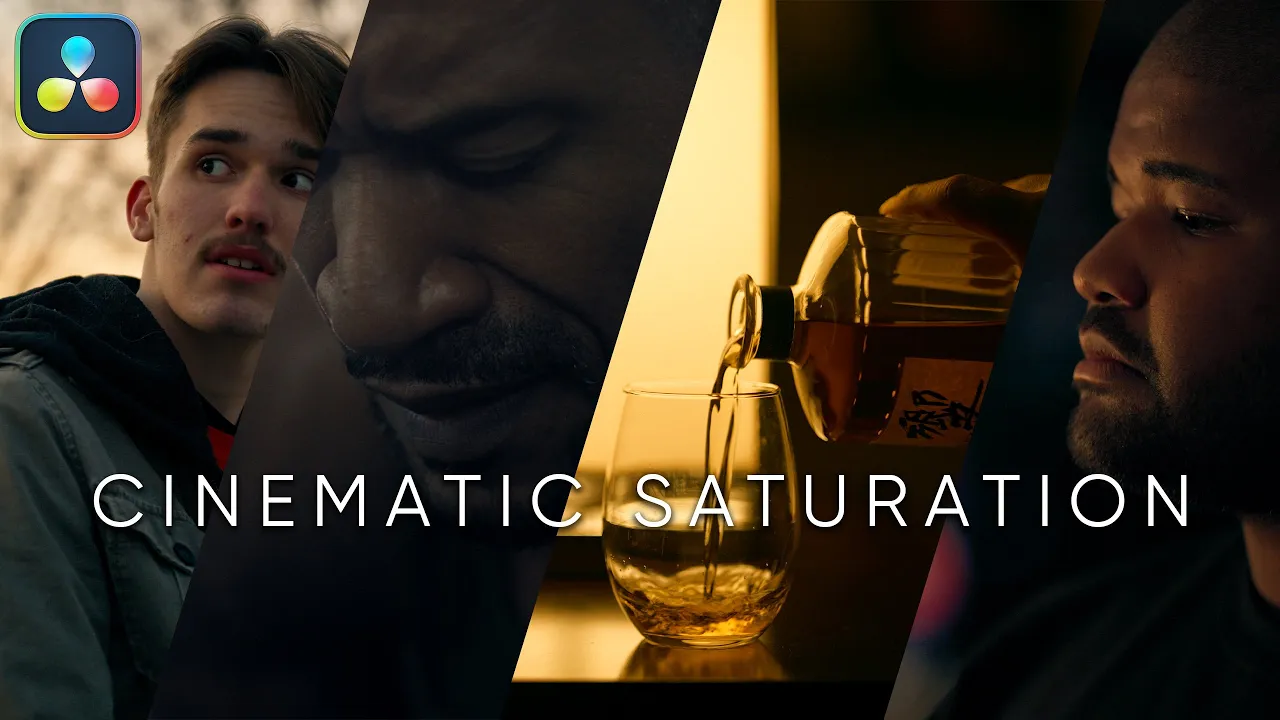
If you’ve ever messed around with the global saturation slider and ended up with radioactive skin tones or muddy colors, I’ve got something better for you. This post breaks down a fast, non-destructive method to get cinematic saturation inside DaVinci Resolve 20 in just seconds.
We’ll go step-by-step through the technique, break down why it works, and show how to dial in both rich color and tasteful desaturation with full control.
Set Your Project Up for Success
Before anything, let’s head to your project settings.
- Go to File > Project Settings > Color Management
- Set the color science to DaVinci YRGB Color Managed
- Use HDR DaVinci Wide Gamut for processing
- Set your timeline output to Rec.709 Gamma 2.4 (that’s what my display is calibrated to)
This ensures consistency across color decisions and gives you room to work without clipping your highlights or crushing your blacks.
Start with a Clean Color Grade
Before touching saturation, I always get the base grade dialed in:
- Apply camera raw adjustments
- Add denoise and a little sharpening
- Color balance the image
- Use a parallel node setup for contrast
- Add your creative look
- Refine your black point for a neutral base
Now we’re ready for the real magic.
The Cinematic Saturation Trick
Here’s the move: three nodes, each handling a different role in your saturation stack.
- Node 1: Set to HSL color space
- Disable Channels 1 and 3 (Hue and Luminance)
- Leave only Saturation active
- Use the gain wheel to reduce saturation to
0.5(50%)
- Node 2: Set to HSV color space
- Again, only enable Channel 2 (Saturation)
- Push gain to add density back in—this is where your color gets its richness
- Node 3: Another HSL node
- Same setup as Node 1
- Pull the gain back again to taste. This refines the result and keeps the color under control
Once you’ve built this, wrap the three nodes into a compound node to easily toggle the entire effect on and off.
Why This Works (Under the Hood)
This technique works because it separates how saturation is treated.
- HSL nodes let you adjust saturation independently from brightness, so your image doesn’t start glowing unnaturally
- HSV nodes define saturation relative to the strongest RGB value, so boosting it adds perceived contrast and weight
That’s why you cut saturation in HSL, build density in HSV, then refine again in HSL. It gives you a cinematic feel, without the plastic skin or weird color shifts.
Bonus: Cinematic Desaturation
You can use this same stack to create desaturated, moody looks without losing depth. Just pull back the final HSL node more aggressively, then push HSV if needed to keep the image from going flat.
Want a gritty travel doc look? Pull the saturation way down but boost HSV slightly. Want something with warmth but less intensity? Push HSV more gently and balance HSL to taste.
This gives you all the finesse of a high-end colorist without a single LUT.
Shoutout and Final Thoughts
I didn’t invent this trick. Props go to my friend and fellow colorist Derek Morrison, who put me onto this method. Links to their work are in the description if you want to dig deeper.
Now, to be clear, I know DaVinci Resolve has a color density tool, but I prefer this method. It just gives me more control and a better visual result without weird side effects.
So next time you’re grading in Resolve, skip the global saturation slider. This stack is faster, cleaner, and way more cinematic.
Keep Climbing,
Sidney Baker-Green
