I get a lot of questions about how I edit my travel photos on Instagram. These days, I’ve been switching between two main cameras: my Nikon Z8 and my iPhone 16 Pro Max. And honestly, with the ability to shoot RAW on mobile now, the iPhone has been coming in clutch more than I expected. Today, I’m walking you through my Lightroom travel photo editing process.
I’m also giving you a free preset from my new travel Lightroom preset pack. No gatekeeping over here.
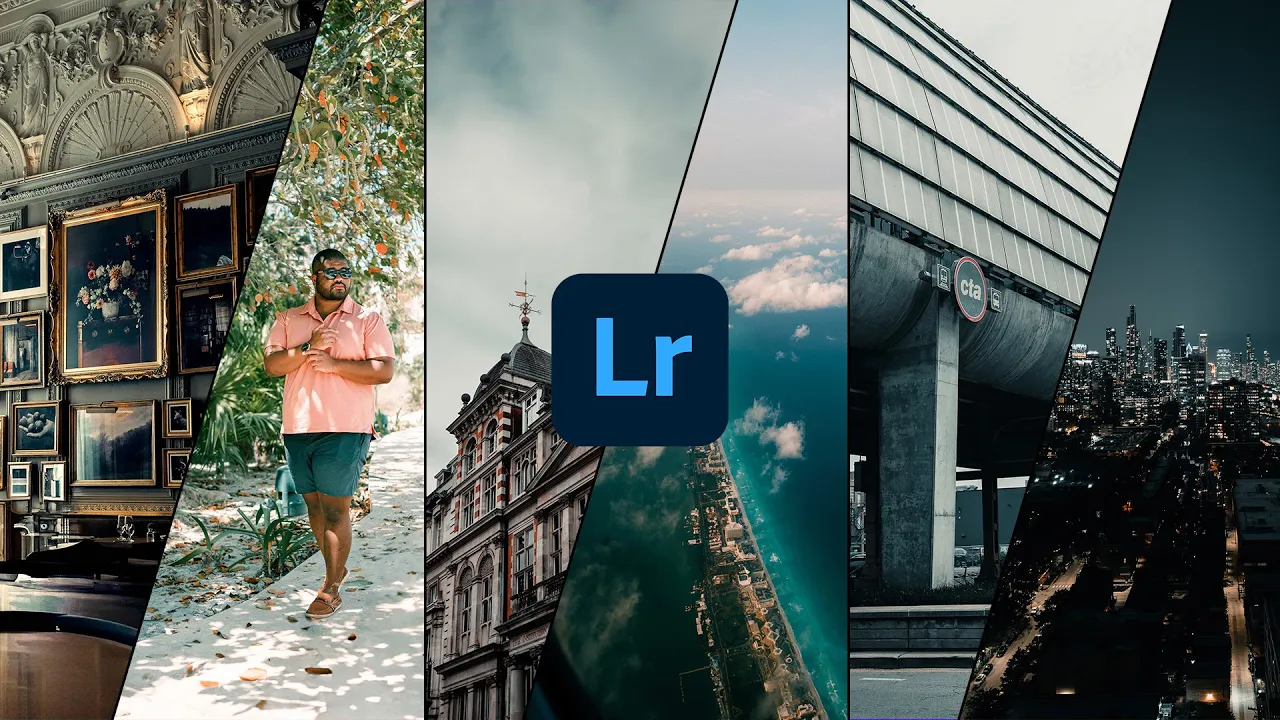
The Preset Pack
Here’s a look at some of the presets in the pack:
- Altitude
- Coastal
- Colleen (this is the one I’m giving you)
- Dark Mode (plus versions 4, 5, and 6)
- Jet Lag
- Manhattan Lounge
- Palm Breeze
These are all designed for quick edits with just temperature, tint, and exposure tweaks. The rest is optional. My go-to is usually Colleen because it works in just about any lighting condition, especially when I’m on the go.
If you’re looking for cinematic tones, the Dark Mode presets include a custom camera profile I built in DaVinci Resolve, based on a Kodak film emulation. To use them, you’ll need to install that profile, which is included with the preset pack.
Editing Example
For one of my darker edits, I used Dark Mode 4, then dialed in some warmth and added saturation. You can really see the cinematic vibe come through. But for quick edits, Colleen is always the one I fall back on.
For bright and airy looks, Coastal is where it’s at. Add a little brightness, pull back contrast, and you’ve got a clean high-key edit. That flexibility is what I love most about this pack.
Lightroom Classic: More Control, Same Vibe
On desktop, I use the same presets, but I’ll usually take a little more time to finesse the image.
Palm Breeze, Jet Lag, and Manhattan Lounge are more subtle and designed for nuanced edits. They don’t hit you over the head creatively, but they respond really well when paired with a color profile like Color Density or Cinebase, both of which are included.
Desktop Workflow Example
In one example, I threw Palm Breeze on a beach shot, added the Cinebase profile, and brought back some detail in the sky with a quick mask. For a London street photo, Colleen brought out the mood perfectly. Adjust the exposure, maybe tweak the temperature, and that’s really all I needed.
Creating the Colleen Preset
This one’s special, so I’m walking you through how it’s built.
Profile
- Based on Lightroom’s built-in Modern 2 profile
Camera Calibration
- Red Primary Hue: +100
- Green Primary Hue: +92
- Blue Primary Hue: -100
This creates a teal-and-orange foundation for everything else.
Basic Panel
- Highlights: -10
- Shadows: +31
- Blacks: -29
- Clarity: +14
Tone Curve
Simple S-curve with the following anchor points:
- Midtones: (60, 40)
- Highlights: (190, 204)
Color Mixer (Saturation)
- Orange: -23
- Yellow: -66
- Green: -68
- Aqua: -100
- Blue: -62
- Purple/Magenta: -66
Color Grading
- Shadows: Hue 213, Saturation 12
- Highlights: Hue 50, Saturation 15
From there, I adjust exposure, color temp, and maybe use a sky mask if needed. That’s how you get that signature “Colleen” look.
Final Thoughts
Every image doesn’t need a deep edit. That’s the whole point of these presets. They’re designed to give you a base that gets you 90 percent of the way there, fast. Whether you’re editing on the plane, on your laptop, or at home on the couch, you can create something beautiful with just a few clicks. You can buy my new Lightroom Preset Pack HERE, and watch the full tutorial HERE.
Keep Climbing,
Sidney Baker-Green
